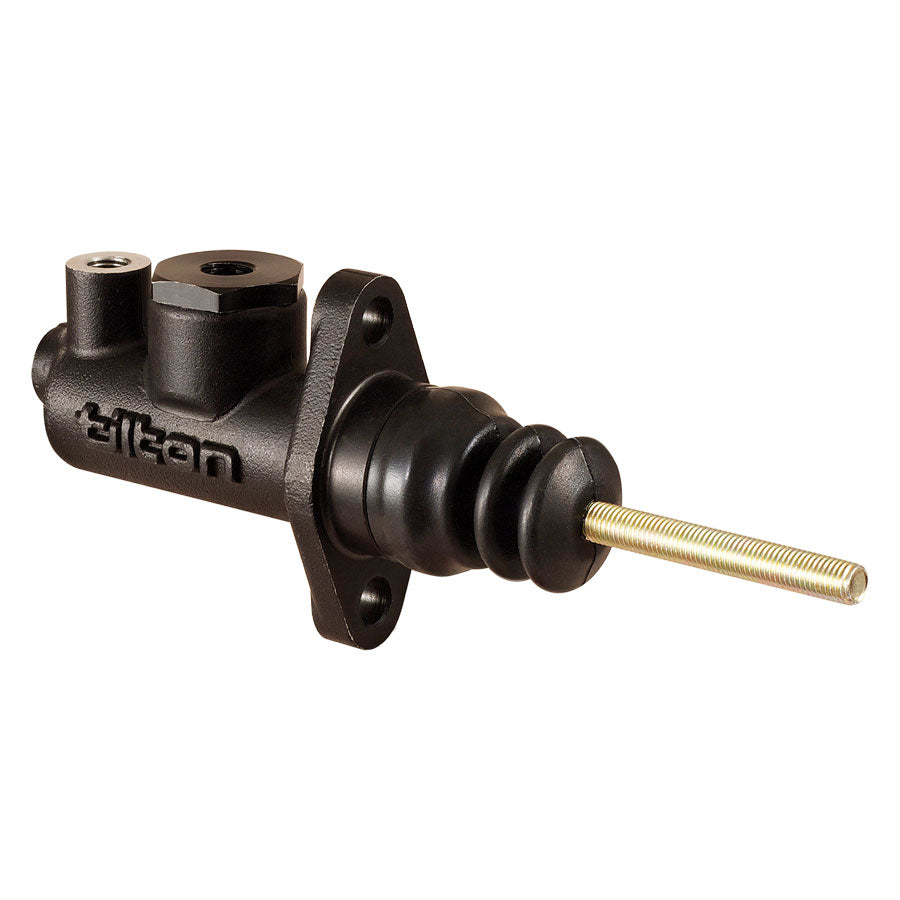
DESCRIPTION
Tilton master cylinders are engineered to provide optimum performance at a moderate
cost. The master cylinders are made of lightweight aluminum and have a black anodized
coating to prevent wear and corrosion. Tilton master cylinders set the standard for the
industry and are a direct replacement for master cylinders that have a 2.25" spaced,
2-bolt mounting pattern.
The 76 Series master cylinders are specifically designed to be assembled with
customer-supplied –4AN inlet fittings, hose and remote mount reservoirs. The inlet port
is a 7/16-20 thread (–4AN) designed for a crush washer seal.
Installation Notes
Mount the reservoir above the calipers to prevent fluid bleed-back from the calipers
to the master cylinders.
• Make sure that all parts are clean before assembling.
• Inlet port thread is designed for 7/16”-20 fittings.
• Top outlet is extra deep to work with 3/8”-24 banjo bolts to long AN3 fittings.
INSTALLATION
Master Cylinder
1. Remove the dust plugs from the master cylinder inlet and outlet ports.
2. The inlet adapter is pre-installed into the master cylinder a Tilton. Inlet adapter is
designed for fittings with a 7/16” -20 thread. If inlet adapter is removed and needs to
be re-installed, the proper torque into the master cylinder body is 25 lb-ft.
3. 76-Series master cylinders are shipped with AN3 plug installed into the rear outlet
port. If routing of the break lines out of rear ports is desired, remove plug and install
into top outlet port (unless port is being used for other purposes such as for pressure
sensor, brake light switch, etc)
4. Top outlet port is extra deep for use wit 3/8” -24 banjo bolts or long AN3 fittings.
Direct Mount Reservoir
Tilton offers a direct mount reservoir (P/N 74-240) that is designed to mount to the
master cylinder in place of installed inlet adapter.
1. Remove inlet adapter from master cylinder.
2. Installed reservoir in place of removed adapter and torque to 25 lb-ft.
Remote Reservoir
Tilton offer three remote reservoir options:
• Single chamber remote reservoir (P/N72-230)
• 3-chamber remote reservoir (P/N 72-577)
• Low profile 3-chamber remote reservoir (P/N 72-578)
1. Install 7/16”- 20 fitting into inlet port of master cylinder.
2. Connect inlet fitting to remote reservoir using AN4 braided lines.
BRAKE BLEEDING
Required Equipment
• Bleeder kit
• Proper wrenches
• An adequate supply of DOT 3 or 4 brake fluid
• If the vehicle has a dual master cylinder brake system then both of the
systems must be bled simultaneously. See Bleeding Order section for
proper order.
Priming Master Cylinder
1. Fill the master cylinder reservoir with brake fluid.
2. Slightly loosen the fitting at the master cylinder.
3. Gently depress and release the brake pedal until fluid emerges.
4. Tighten the fitting.
5. Select the bleeding order that fits your application from Bleeding Order
section.
Brake Bleeding
1. Fill a clear bottle with enough brake fluid to keep the hose-ends
fully submerged.
2. Attach the other end of the plastic bleeder hose to the caliper bleed-screw.
3. Be sure the hoses stay submerged throughout the procedure to prevent
sucking air on the return stroke of the pedal.
4. Depress the brake pedal with slow and gentle foot pressure.
5. Open the caliper bleed-screw.
6. Allow the pedal to drop to the fully depressed position.
7. Close the caliper bleed-screw.
8. Allow the pedal to return to the relaxed position.
9. Wait several seconds and then repeat steps 4 through 8 until air has been
removed from the system
MAINTENANCE
The brake system should have the brake fluid replaced and the brake bleeding
procedure performed before each event.
MASTER CYLINDER REBUILD KITS
Refer to this table for the appropriate rebuild kit.
BLEEDING ORDER
Fixed calipers, 2 Master Cylinders
1. Front & rear passengers side, inboard
2. Front & rear passengers side, outboard
3. Front & rear drivers side, inboard
4. Front & rear drivers side, outboard
Floating calipers, 2 Master Cylinders
1. Front & rear passengers side
2. Front & rear drivers side
Floating calipers, 1 Master Cylinder
1. Start at the caliper furthest from the master cylinder.
2. Work your way in, bleeding the next closest caliper.
Fixed calipers, 1 Master Cylinder
1. Start at the caliper furthest from the master cylinder. Bleed the inboard
side and then the outboard side.
2. Proceed to the next closest caliper.
Upon Completion
After bleeding, minimal brake pedal travel should be
observed. Properly bleeding the brakes does not require
any power equipment or a massive amount of applied
pedal force.


